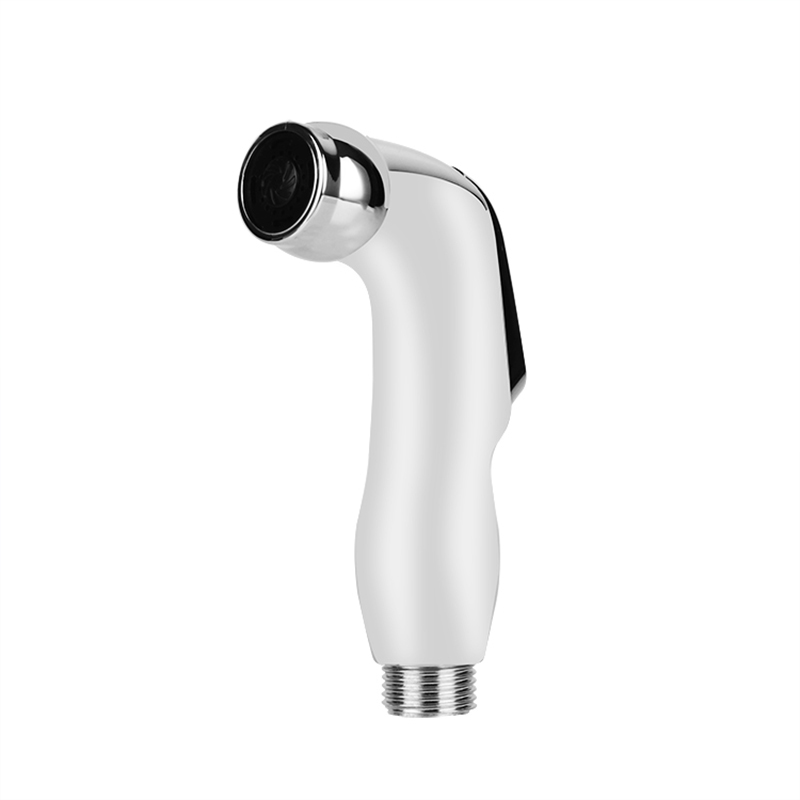
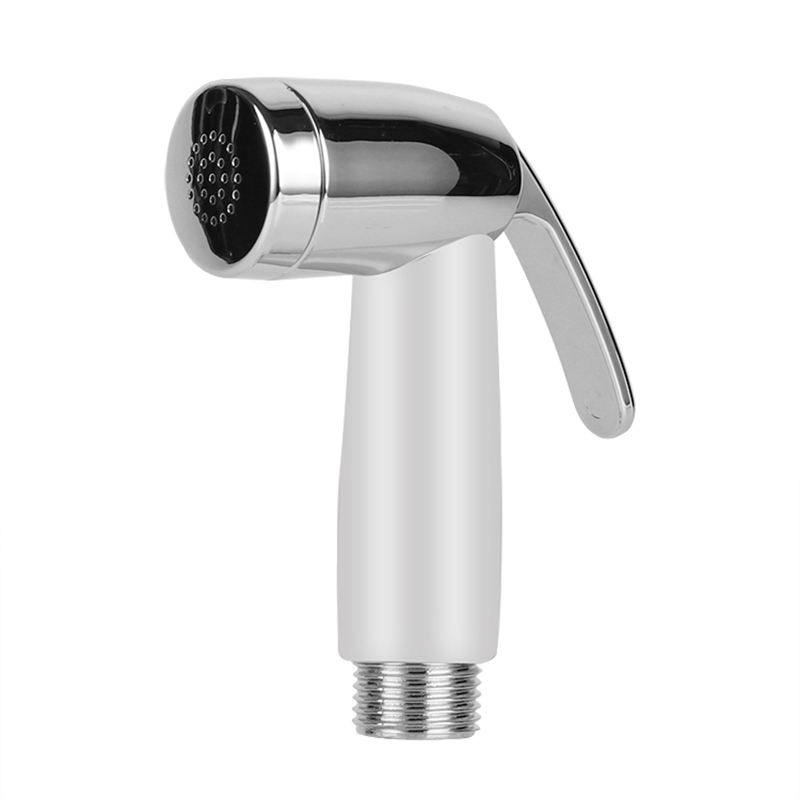
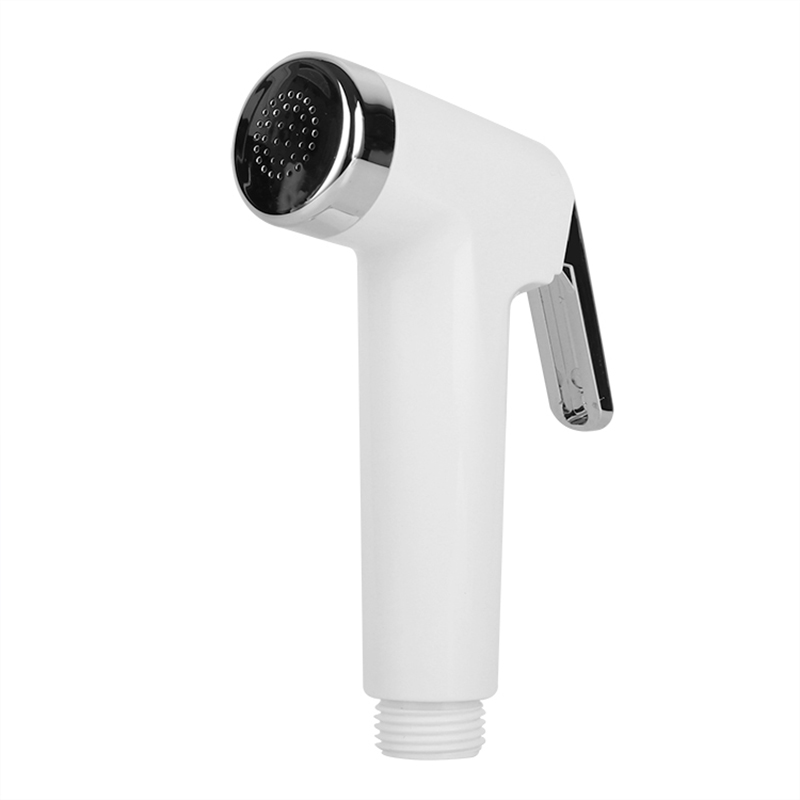
A leaking stainless steel shower flexible hose is a common household issue that can lead to water waste and potential damage if left unaddressed. This problem often arises from wear and tear on components such as seals or connections. With basic tools and a systematic approach, many leaks can be resolved without professional assistance.
The 5 Easy Steps to Fix the Leak
Following these steps can help resolve leaks in a stainless steel shower flexible hose. Always ensure the water supply is turned off before beginning any repairs to prevent accidents.
Step 1: Identify the Source of the Leak
-
Examine the stainless steel shower flexible hose thoroughly to locate the exact point of leakage. Common areas include the connections at the showerhead or wall fixture, or along the hose itself if it is damaged.
-
Check for visible cracks, corrosion, or loose fittings. If the leak is at a connection, it may be due to a worn seal; if along the hose, it could indicate a puncture or split.
Step 2: Turn Off the Water Supply and Disconnect the Hose
-
Shut off the water supply to the shower to avoid flooding. This is typically done at the main valve or a dedicated shower valve.
-
Use an adjustable wrench to carefully loosen and disconnect the stainless steel shower flexible hose from both the showerhead and the wall outlet. Place a towel underneath to catch any residual water.
Step 3: Inspect and Replace Damaged Components
-
Once disconnected, inspect the hose and its fittings for damage. Focus on rubber or silicone washers and O-rings, as these are common failure points.
-
If any components are worn or cracked, replace them with identical parts from a hardware store. Ensure the replacements match the specifications of the original stainless steel shower flexible hose to maintain compatibility.
Step 4: Reassemble the Hose
-
Reattach the stainless steel shower flexible hose by screwing it back onto the showerhead and wall connection. Hand-tighten first to avoid cross-threading.
-
Use the wrench to secure the connections firmly, but avoid over-tightening, as this can damage the threads or seals.
Step 5: Test the Repair
-
Turn the water supply back on and slowly open the shower valve to check for leaks.
-
Observe the connections and the hose itself for any signs of dripping. If no leaks are present, the repair is successful. If leaks persist, repeat the inspection or consider consulting a professional.
Additional Tips and Safety Precautions
To ensure a safe and effective repair, keep these points in mind:
-
Always wear protective gloves and eyewear when handling tools or disassembling components to prevent injuries.
-
Use thread seal tape on connections if recommended for the specific stainless steel shower flexible hose model, as it can help create a watertight seal.
-
Regularly inspect and maintain the stainless steel shower flexible hose to extend its lifespan and prevent future leaks.
Repairing a leaking stainless steel shower flexible hose is a manageable task when approached methodically. By following these five steps and adhering to safety guidelines, homeowners can address common leaks efficiently. This not only conserves water but also reduces the need for costly replacements. For complex issues, seeking expert advice is advisable to ensure long-term reliability.

 English
 中文简体
中文简体


