Understanding the Standard Configuration
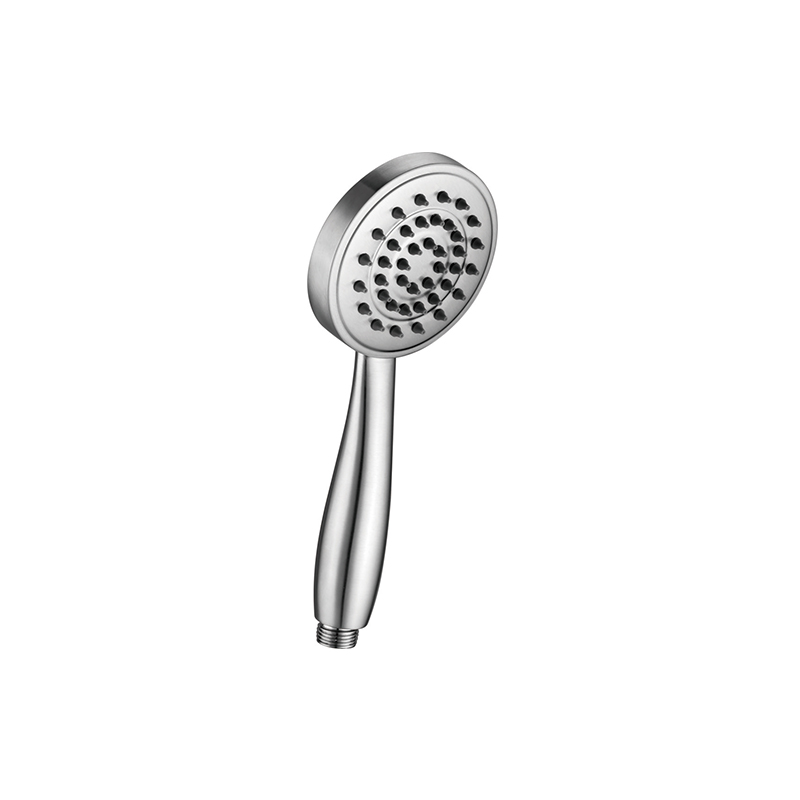
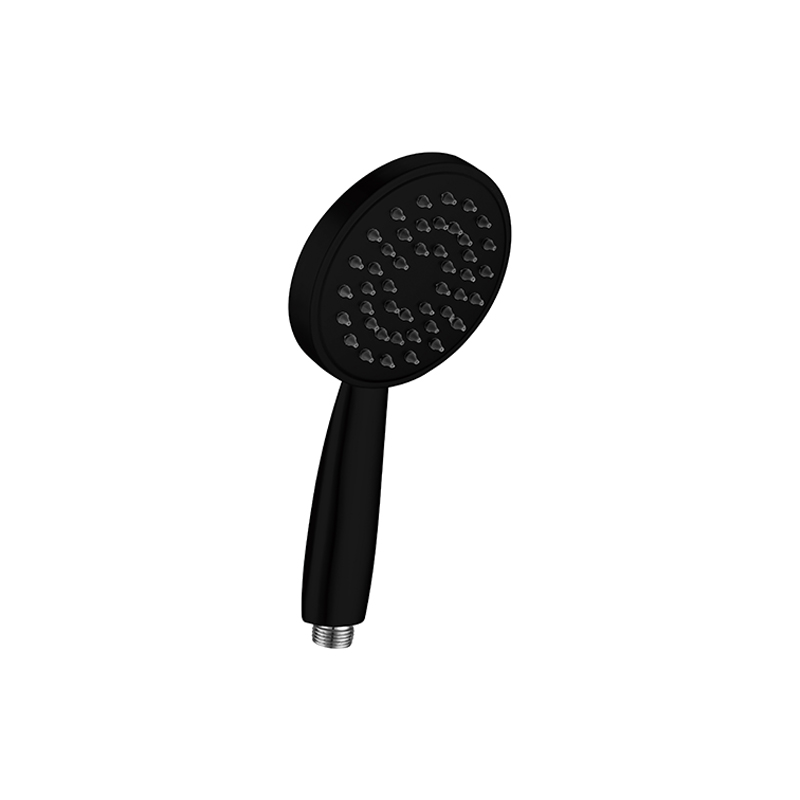
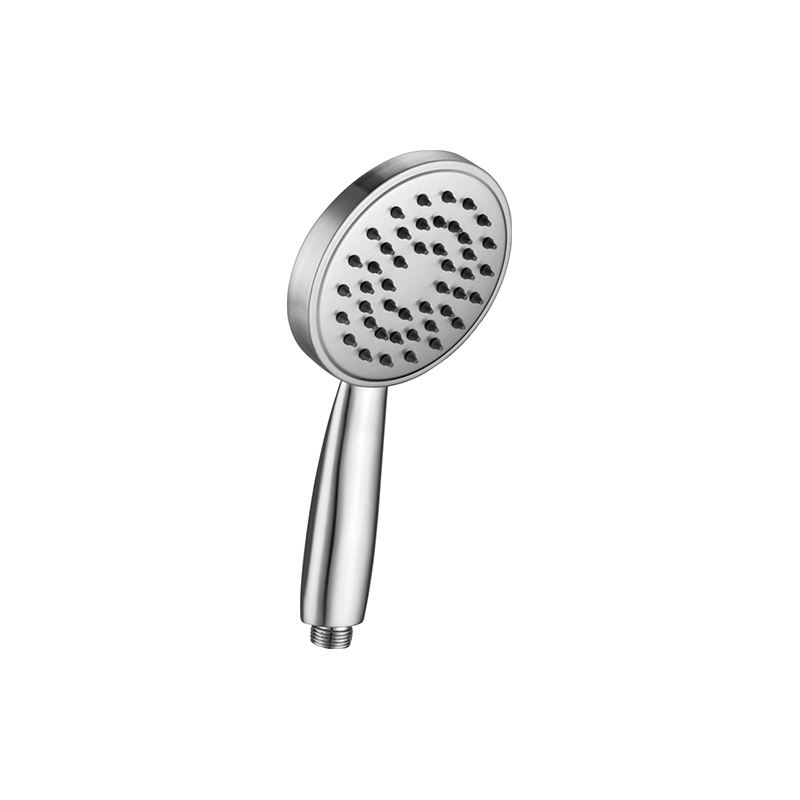
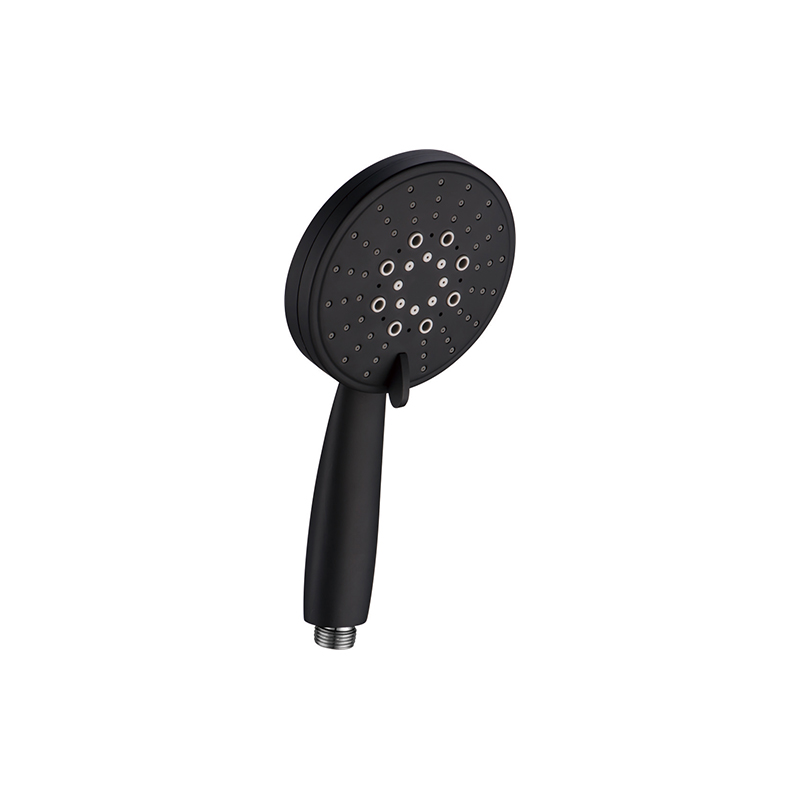
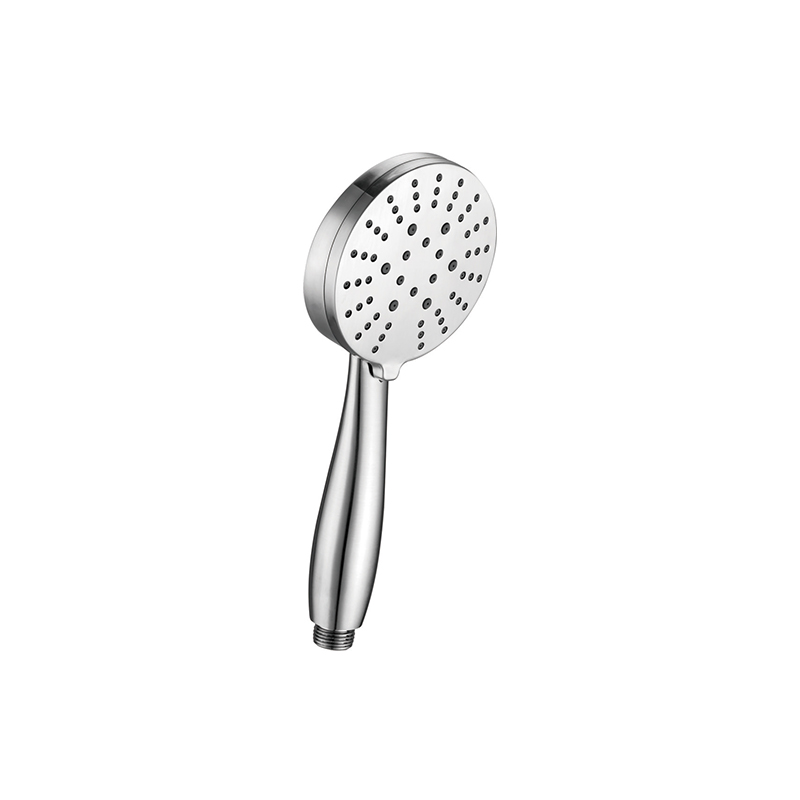
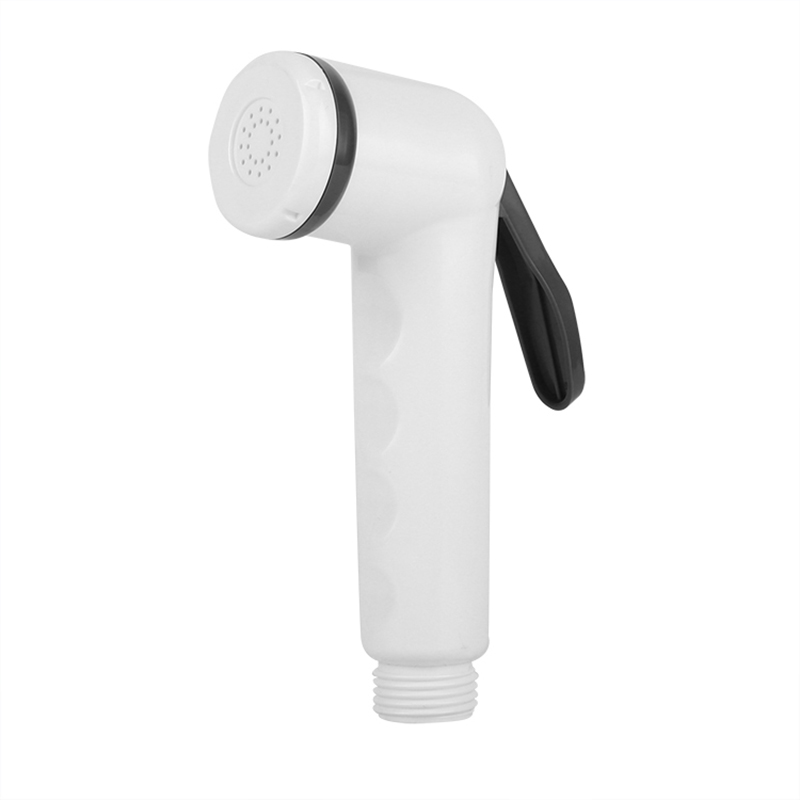
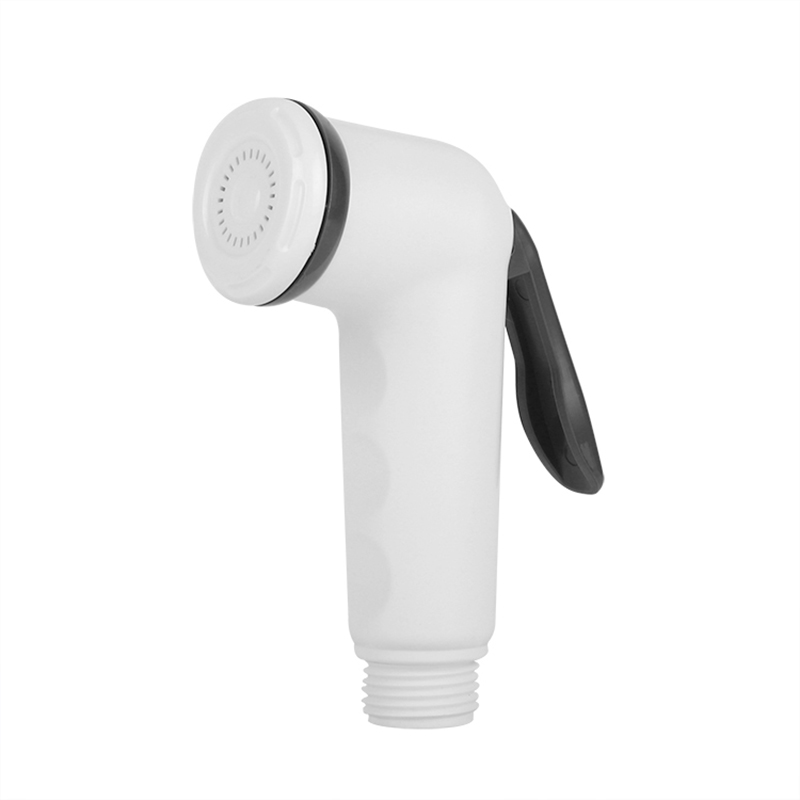
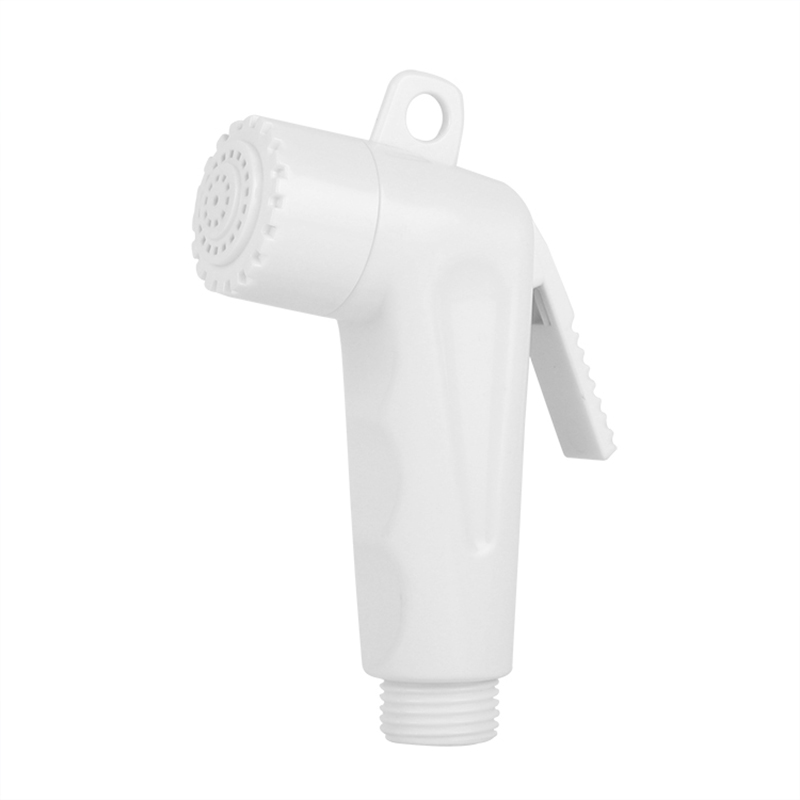
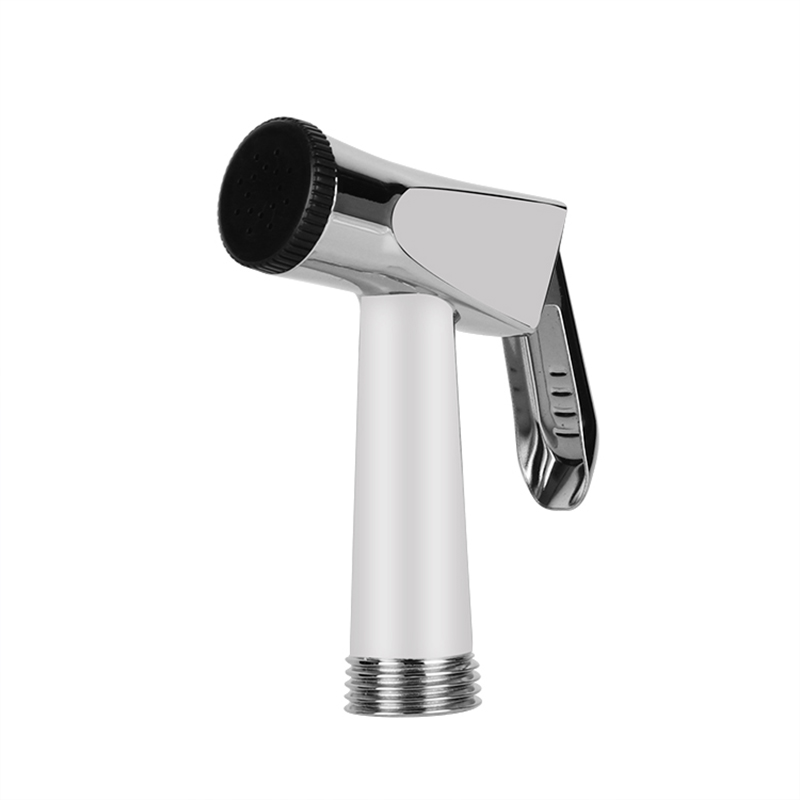
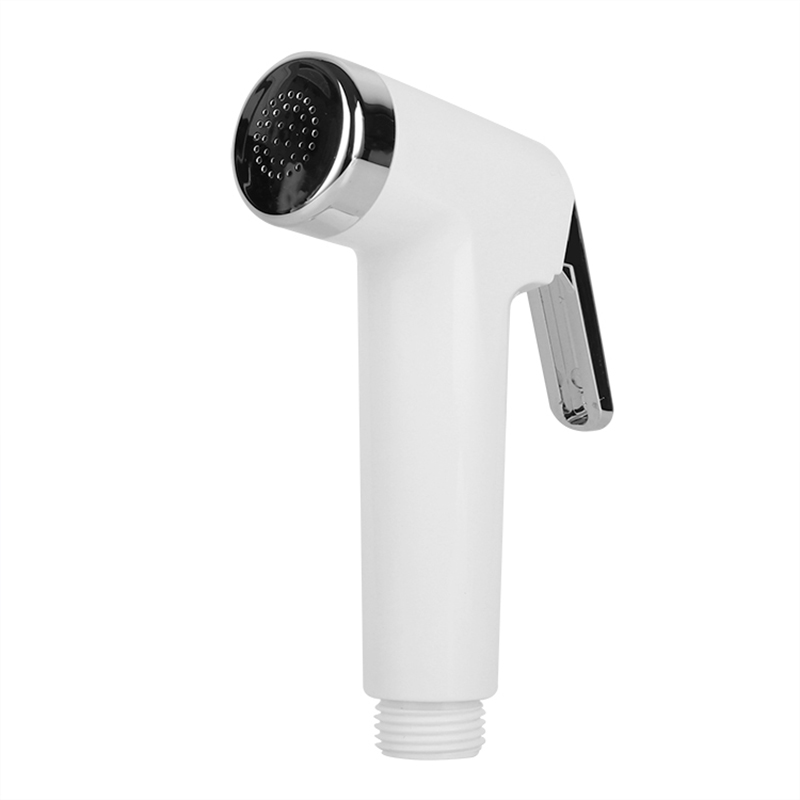
Typically, a handheld shower system consists of three main components: a fixed shower arm or wall bracket, a stainless steel shower flexible hose, and the handheld shower head itself. The bracket serves as a secure anchor point, holding the shower head when not in hand. Using the hose and head without this anchor point is an unconventional but feasible configuration.
Technical Compatibility and Connection Points
The primary factor determining feasibility is thread compatibility.
Hose-to-Shower Head Connection: One end of the stainless steel shower flexible hose features a threaded nut designed to screw directly onto the handheld shower head. This connection is standard and will function correctly regardless of the other end's attachment point.
Hose-to-Water Supply Connection: The critical end is the one that would normally connect to the shower arm or bracket. This end must be compatible with the water supply outlet in your shower area. Most hoses have a 1/2-inch female threaded connection (BSP or NPT standard), which is designed to screw onto a male-threaded shower arm. If your water supply outlet is a similar male thread, a direct connection is simple. If the outlet is different (e.g., a female thread), an appropriate adapter will be required.
Practical Considerations for a Bracket-Free Setup
While technically possible, operating a handheld shower without its bracket presents functional challenges.
Water Source Management: Without a bracket, the point where the hose connects to the water supply becomes the permanent base of the entire shower unit. This connection must be absolutely secure to prevent leaks and avoid placing strain on the plumbing behind the wall.
Ergonomics and Convenience: The significant weight of the shower head and the filled hose will be constantly pulling on the water supply connection. This can make the setup awkward to use, as the user must manage the entire length of the hose and the head simultaneously, with no place to securely rest the head when soaping up.
Potential for Damage: Letting the shower head hang freely from its connection point puts continuous mechanical stress on the plumbing fittings, increasing the risk of wear and potential leakage over time. A sudden tug on the hose could damage the connection.
Installation Guidelines
If you decide to proceed with this setup, follow these steps to ensure a secure and leak-free installation:
Verify Thread Compatibility: Identify the thread type and size on your water supply outlet and compare it to the threads on the hose. Purchase a reputable-quality brass or stainless steel adapter if necessary.
Use Thread Seal Tape: Wrap plumber's tape (Teflon tape) clockwise around the male threads of the water supply outlet or adapter. This creates a water-tight seal and helps prevent leaks.
Hand-Tighten, Then Adjust: Screw the connecting nut from the stainless steel shower flexible hose onto the threaded outlet by hand until it is snug. Use an adjustable wrench to give it a final quarter to half turn. Avoid over-tightening, as this can damage the washer or crack the fitting.
Test for Leaks: Before finalizing the installation, turn on the water supply briefly and check the connection point for any drips or leaks. If a leak is present, turn off the water, disassemble the connection, apply more tape, and reassemble.
A stainless steel shower flexible hose can be used with a handheld shower head alone, provided the thread connections are compatible and secure. This configuration is most practical as a temporary solution, for use in utility sinks, or in specific situations where a bracket is not desired. However, for daily use in a shower, installing a dedicated wall bracket is highly recommended. The bracket provides a secure anchor, protects your plumbing from strain, and greatly enhances the overall functionality and safety of the handheld shower system.

 English
 中文简体
中文简体


